
Sometimes you may need to run a full graphical interface at a remote server. This is relatively simple and really helpful if you are not familiar with ssh access to your server. A VNC Server setup is needed to control the remote desktop from our local system. In this post, I will explain the process of setting up of VNC server and VNC viewer on Ubuntu 18.04 Linux.
1. Prerequisites
Before starting, make sure that your server contains latest list of packages and it is up to date. ssh into the server and run the following commands one by one. Following commands will install nano command line text editor and the netcat tool.
sudo apt update && sudo apt upgrade
sudo apt install nano netcat
2. Install Desktop Environment on server
Now, install your favorite desktop environment on server. Here I’m choosing Xfce because of its minimal system requirements. A single core server with one GB of ram will be enough for smooth running of Xfce.
sudo apt install xfce4 xfce4-goodiesIt will pull a bunch of dependencies and may require some time to finish. You can also install other deaktop environments easily with tasksel tool. This tool can be installed with following command.
#these are optional commands
sudo apt install tasksel
sudo tasksel
This will open up a window with list of available desktop environments and other useful software. You can use space and tab to choose and install your required packages. Complete Xfce, Gnome, KDE and lot of other packages are available. Perform a reboot after installation is complete.
sudo reboot3. Install VNC Server
Now install TightVNC server or any other VNC Server software of your preference. TightVNC is open source and cross platform.
sudo apt install tightvncserverYou can start VNC Server with ‘vncserver‘ command. For the first time, you will be asked for some configuration. You have to provide a password to restrict access to the desktop. You can also provide an optional view-only password. View only password can be used to view the remote desktop and you cannot give mouse or keyboard input to your remote desktop.

After providing the passwords, a new desktop session with ID 1 will be started on port 5901.
4. Configure Start up script (Optional)
You can configure the script which is executed when VNC Server is started. To configure TightVNC to start an Xfce session, insert following code to ‘xstartup’ file in ‘.vnc’ folder in your home directory.
nano ~/.vnc/xstartupFor example, if you want to start Firefox on VNC Server startup, insert following into the file using nano editor.
#!/bin/sh

xrdb $HOME/.Xresources
xsetroot -solid grey
#x-terminal-emulator -geometry 80x24+10+10 -ls -title "$VNCDESKTOP Desktop" &
#x-window-manager &
# Fix to make GNOME work
export XKL_XMODMAP_DISABLE=1
/etc/X11/Xsession
firefox &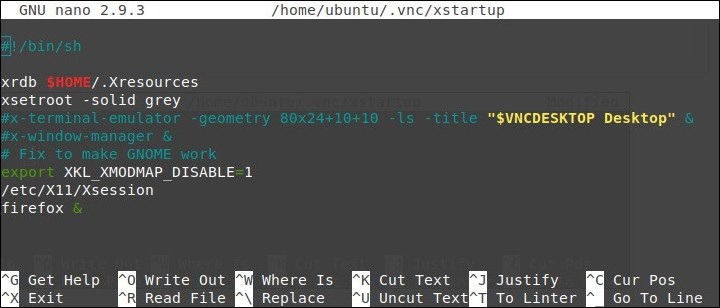
Press ‘Ctrl+x’ and enter ‘y’ to save the file.
5. Starting VNC Server and Configuring Firewall
You can start VNCServer just by entering ‘vncserver‘ command. You can start multiple sessions by using the command again and again. Each session will be accessible through ports starting with 5901. Run ‘nc localhost 5901′ on command line. If everything goes well, you will get ‘RFB 003.008‘ as output.
This means that a server is running on port 5901 which uses RFC protocol, the protocol used by VNC Server. But you will be able to access the VNC Server only if you are configured to allow access to the ports used by VNC Server. Allow access to ports starting with 5901 to access the desktops through VNC Server. This can be achieved by providing required configuration in AWS security groups (if you are using an AWS instance) or firewall configuration in Google Cloud compute engine.
6. Connecting to VNC Server using VNC Viewer
You can use any VNC Viewer to access the remote desktops. I’m using gvncviewer because it is easy to install and use. Install gvncviewer using following command.
sudo apt install gvncviewerYou can now connect to the VNC Server like following.
vncviewver public-ip-of-server:desktop-numbereg: vncviewer 11.22.33.44:1
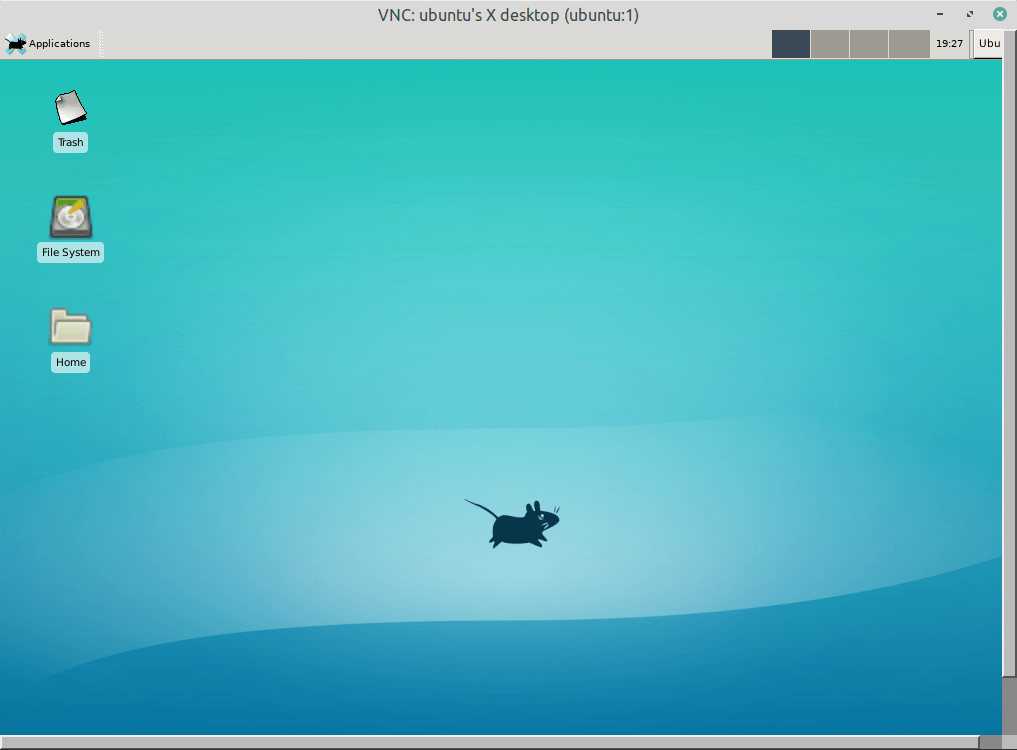
Xfce Session 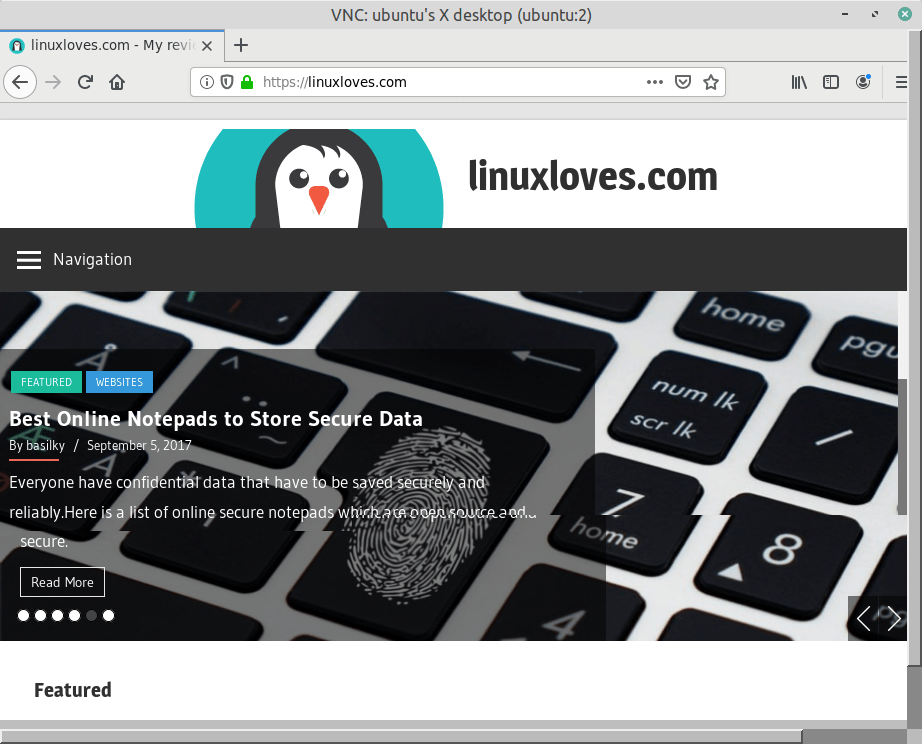
Firefox Web Browser
That’s all and you can control the remote desktop using VNC Viewer window. You can close an active session and free up the ports with following command.
vncserver -kill : desktop-IDeg : vncserver -kill :1
Please not that, by default VNC connection is not encrypted and it is vulnerable to packet sniffing. You have to add ssh tunneling if you need additional protection. You can also install Apache Guacamole on the server if you want to access the remote desktops via any web browser, instead of installing a VNC Client.
I hope the tutorial was useful. Thanks for reading and use comment section below if you encounter any issues.